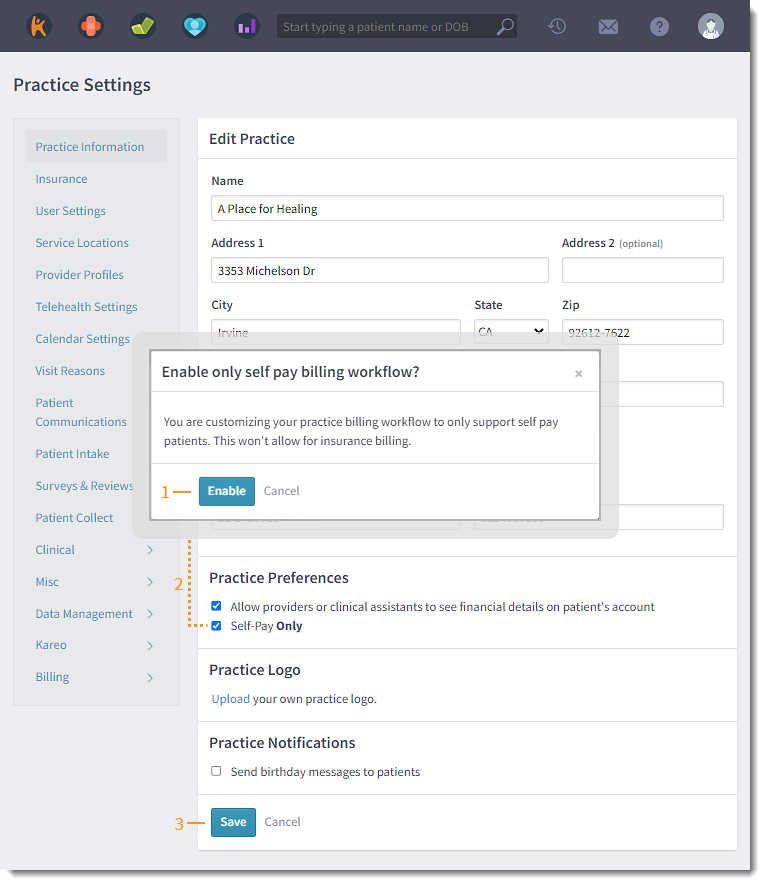
Enable Self-Pay Only
The Self-Pay billing workflow provides a streamlined experience for cash-only practices to create charges and collect money from patients or guarantors that are 100% responsible for the cost of their care. Enabling the Self-Pay billing workflow allows you to specify the visit charges, collect and post patient payments, all within a few steps and completely on the web, no more logging into the Desktop Application (PM) to finalize the billing process.
Once the Self-Pay Only setting is enabled, practices will have access to features only available for self-pay:
- Services: Easily find and manage services (procedures) under Practice Settings.
- Fees: Create and manage fee schedules under Practice Settings.
- Patient Case: Self-pay patient cases are automatically created for new patients.
- Collect Payment: Collect patient payments from the new appointment page or collect a payment from the appointment card to create a charge capture.
- Dashboard: Review the appointment's charge status on the dashboard or click on the appointment card to view the Financial Information tab that allows you to easily access and review charges related to that service date and any payments associated with it.
- Patient Payments: Access the Patient Payments page to view and manage patient payments.
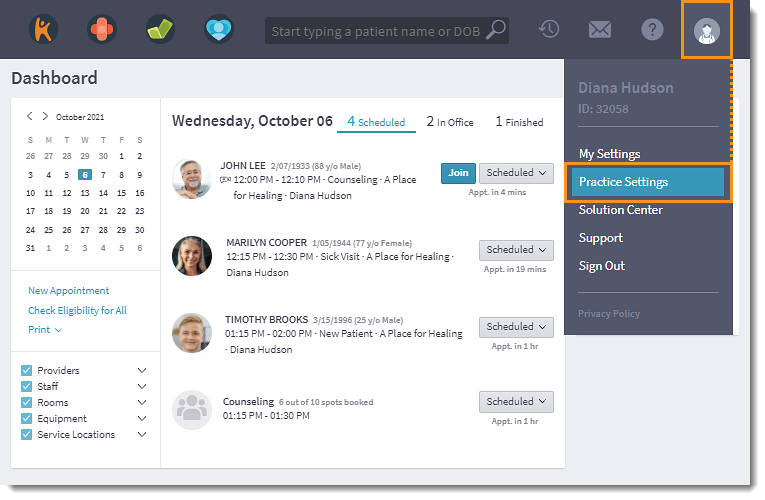
Access Practice Information
|
 |
Enable Self-Pay Only
|
 |