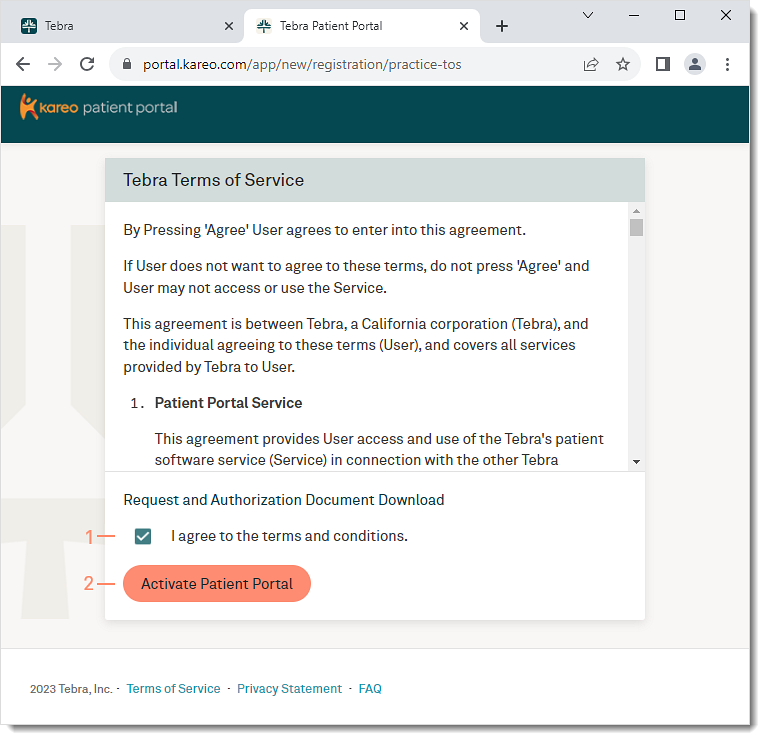
Activate Patient Portal
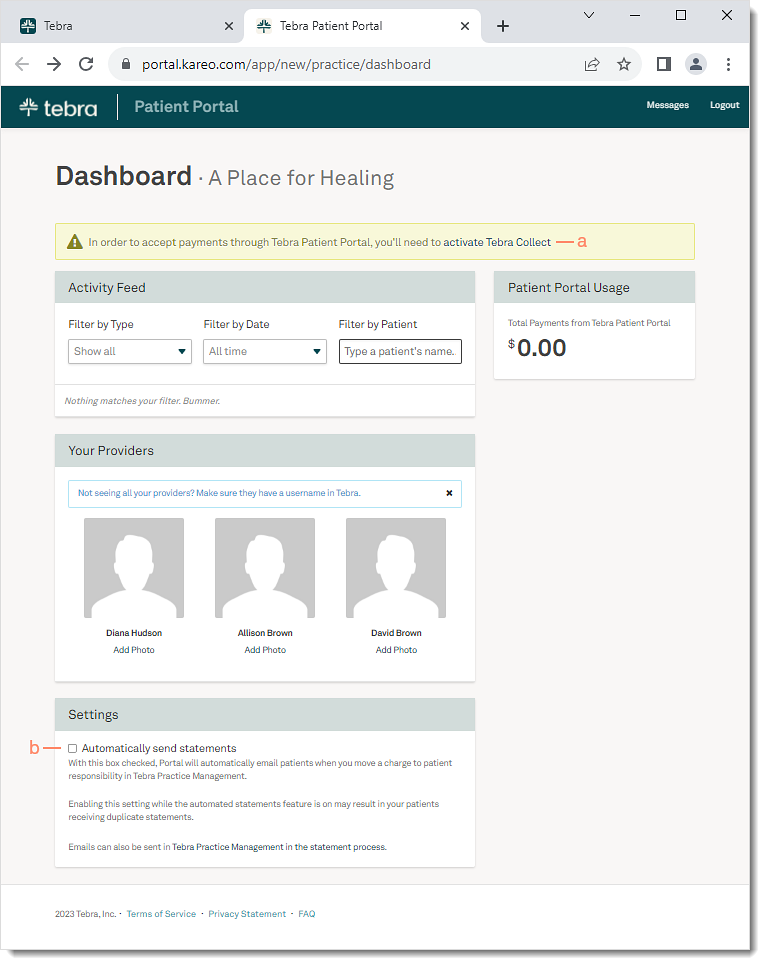
The Patient Portal integrates with Tebra and lets the practice securely communicate with patients, post eLab results, health information, and provide patients access to online statements. Invite the patient to create a Patient Portal account to access their clinical data. With Tebra Payments or Tebra Patient Collect enabled, patients can pay outstanding balance online through their Patient Portal.
Review Navigate Patient Portal to learn more about the Patient Portal Dashboard. Review Patient Experience: Patient Portal to learn more about the patient's view.
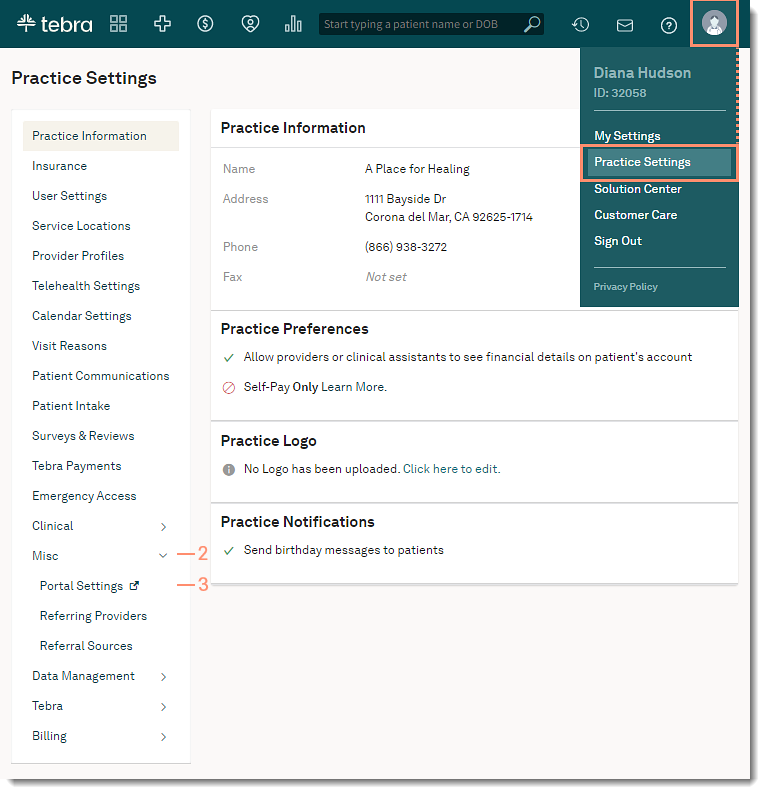
Access Portal Settings
|
 |
Activate Patient PortalThe Patient Portal only needs to be activated once for the practice.
|
 |
Patient Portal Settings
|
 |