Add, Edit, or Delete Rooms
In the Calendar Settings, you have the ability to incorporate exam rooms into your patient appointment workflow. You can also easily edit or delete exam rooms as needed.
Once a room has been added, it can be assigned to a patient from the Dashboard during the patient visit.
Access Calendar Settings
|
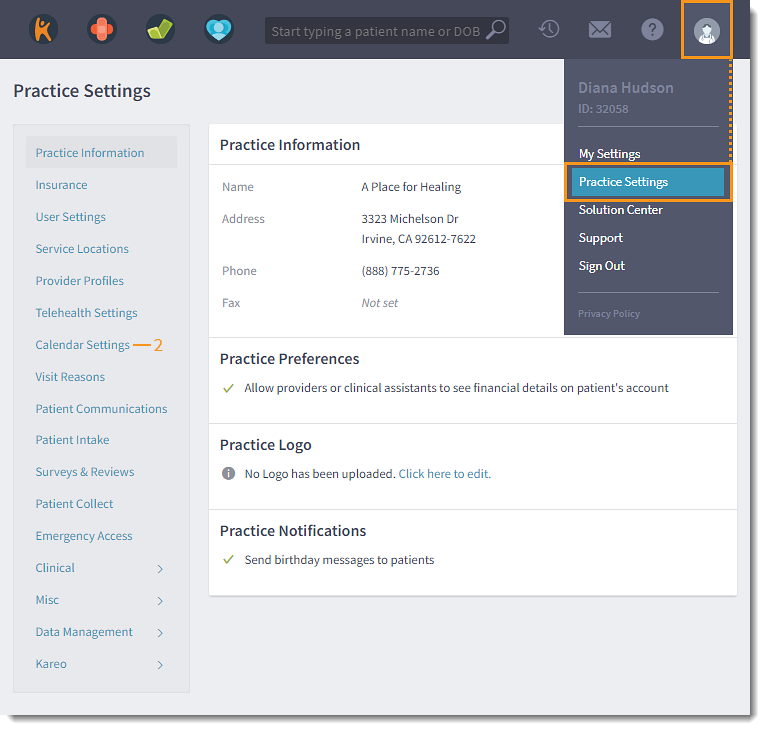 |
Add Rooms
|
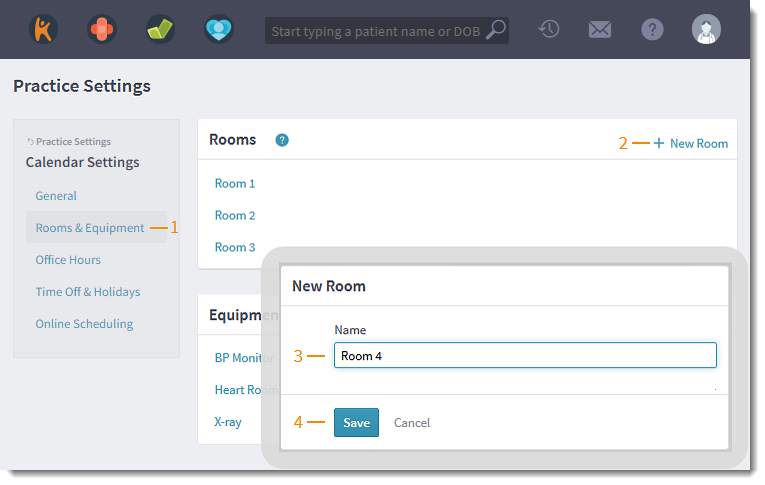 |
Edit Rooms
|
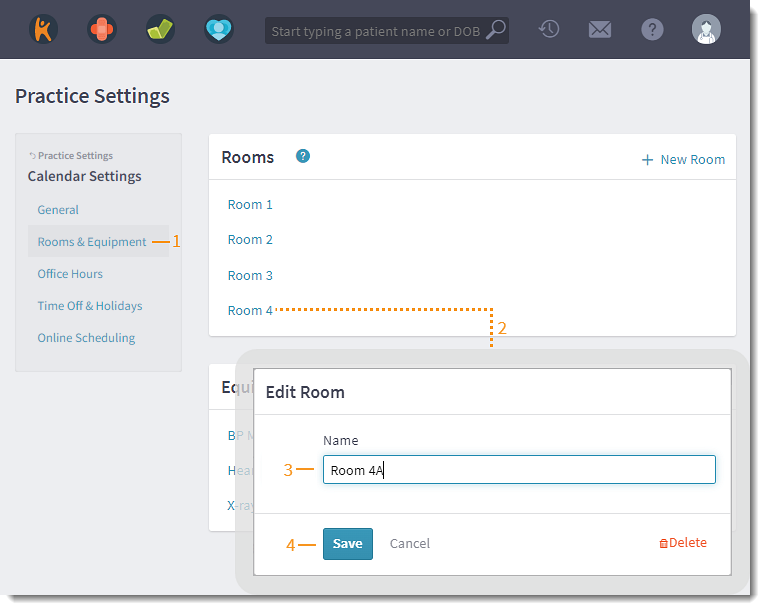 |
Delete Rooms
|
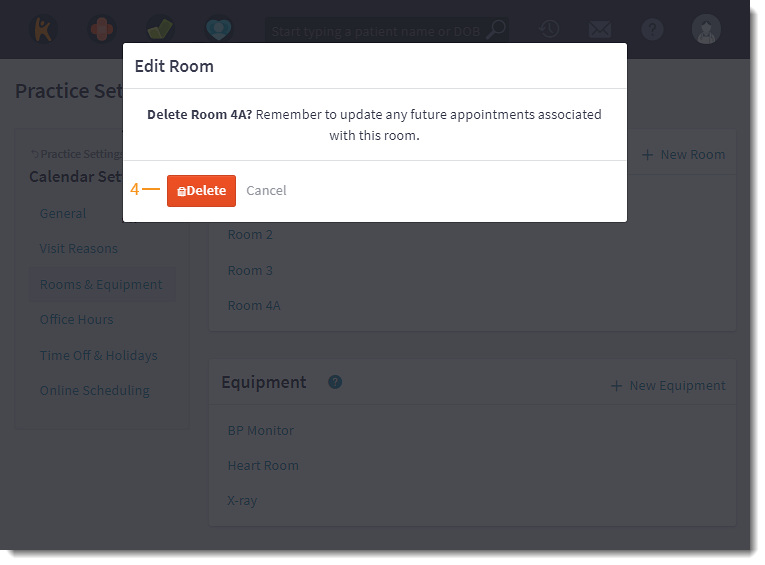 |