Enable Receipt on Patient Portal
- Last updated
-
-
Save as PDF
Updated: 01/18/2024 | Views: 1377
Practices with Patient Portal activated can access the Receipt Settings page that allows System Administrators to enable itemized charge receipts for patients to access and securely download through the Patient Portal.
Access Receipt Settings
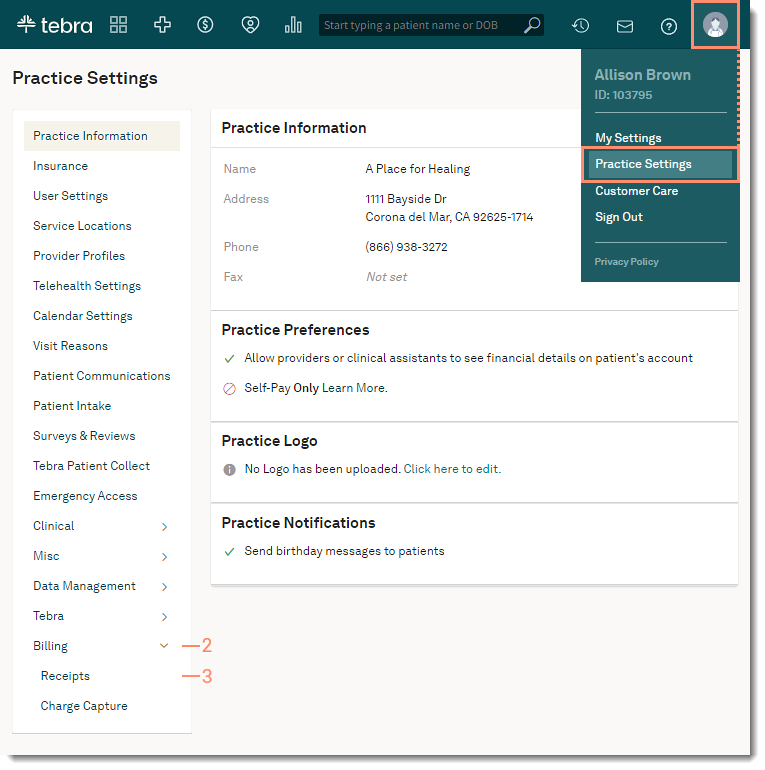
- Hover over the User icon and click on Practice Settings. The Practice Settings page opens.
- Click Billing. Additional setting options expands.
- Click Receipts. The Receipt Settings page opens.
|
 |
Enable Receipt on Patient Portal
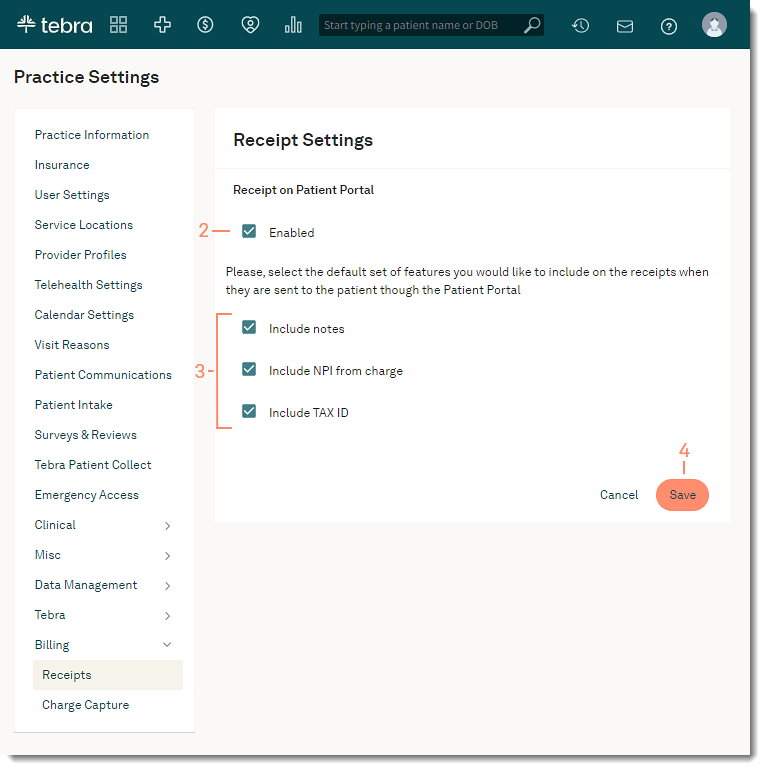
- Click Edit. The Receipt Settings editor opens.
- Click to select "Enabled".
- Set the default information to include on the patient receipts as necessary. The following options are selected by default:
- Include notes: To exclude information entered in the Notes section of charges, click to clear the selection.
- Include NPI from charge: To exclude the rendering provider NPI associated with the charges, click to clear the selection.
- Include TAX ID: To exclude the rendering provider Tax ID associated with the charges, click to clear the selection.
- When finished, click Save.
Once enabled, patients with activated Patient Portal accounts can securely download itemized receipts for their visits. Review Patient Experience: Navigate Itemized Charge Receipts for more information.
|
 |