Edit or Delete Patient Appointment
Patient appointments can be easily edited to help manage and organize the practice’s daily agenda.
Edit Patient Appointment
|
 |
|
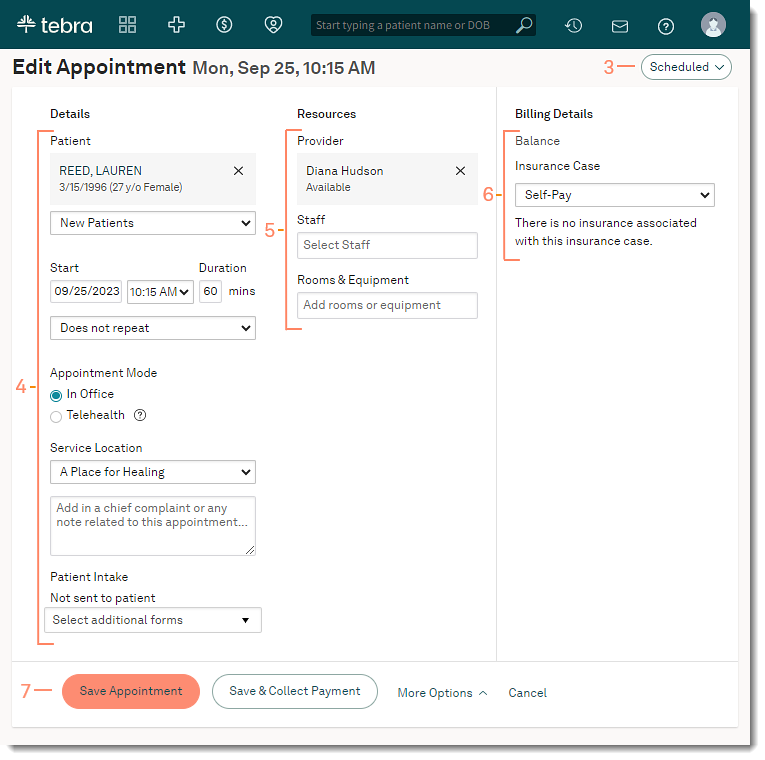 |
Delete Patient Appointment
|
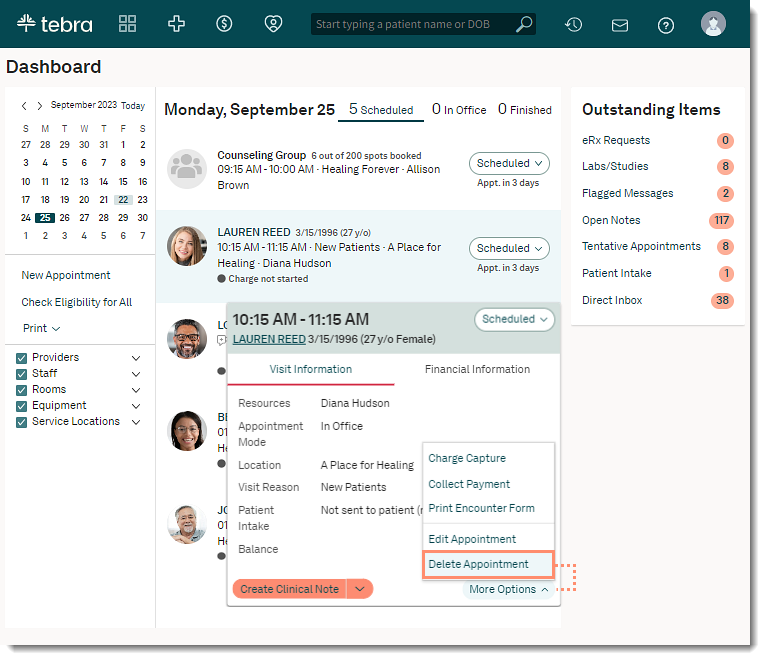 |
|
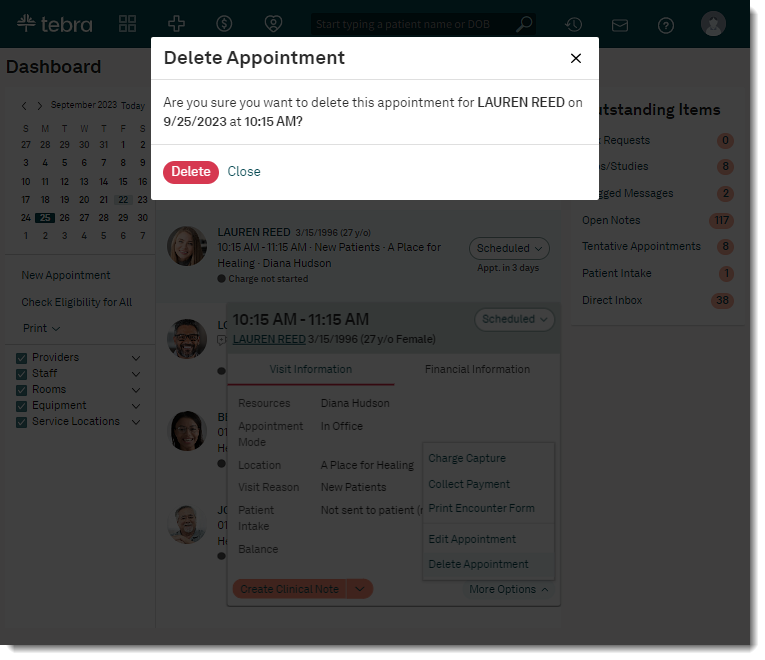 |