Deactivate or Reactivate Patient Chart
The patient chart allows a practice to manage the patient's demographics, billing data, clinical data, and notes. When the practice no longer needs immediate access to the patient chart (e.g., deceased patient, no longer a patient, etc.) deactivate the patient chart to remove the patient from search results and mark the patient as inactive. If necessary, activate the patient chart to display the patient in search results and mark the patient as active.
![]() Important Notes: Patient records cannot be deleted in the web platform. Verify the patient record is not a duplicate before saving. Patients created in error with no clinical data can be deleted via the Desktop Application. If the patient has clinical data, it is recommended to deactivate the patient chart to preserve historical data.
Important Notes: Patient records cannot be deleted in the web platform. Verify the patient record is not a duplicate before saving. Patients created in error with no clinical data can be deleted via the Desktop Application. If the patient has clinical data, it is recommended to deactivate the patient chart to preserve historical data.
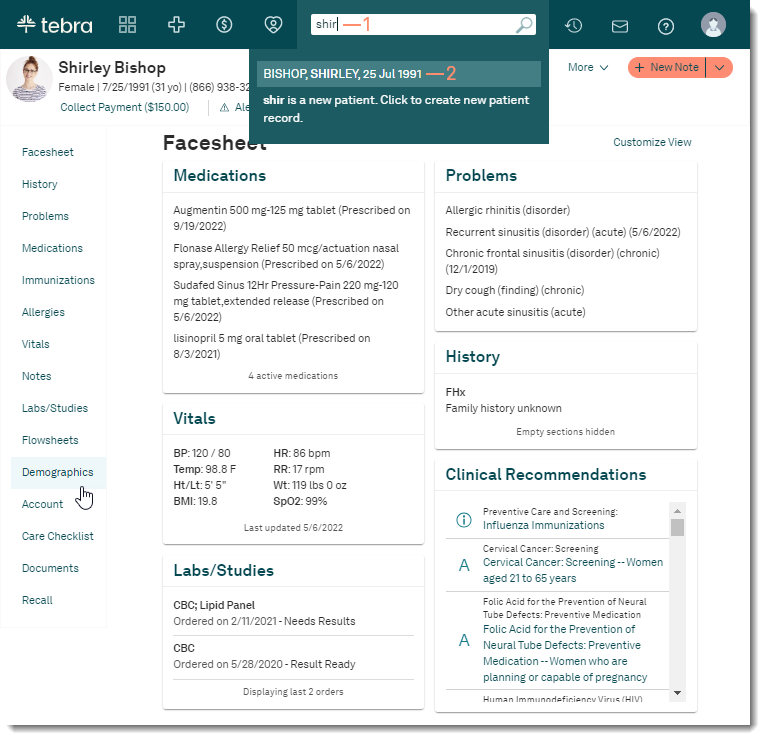
Access Demographics
|
 |
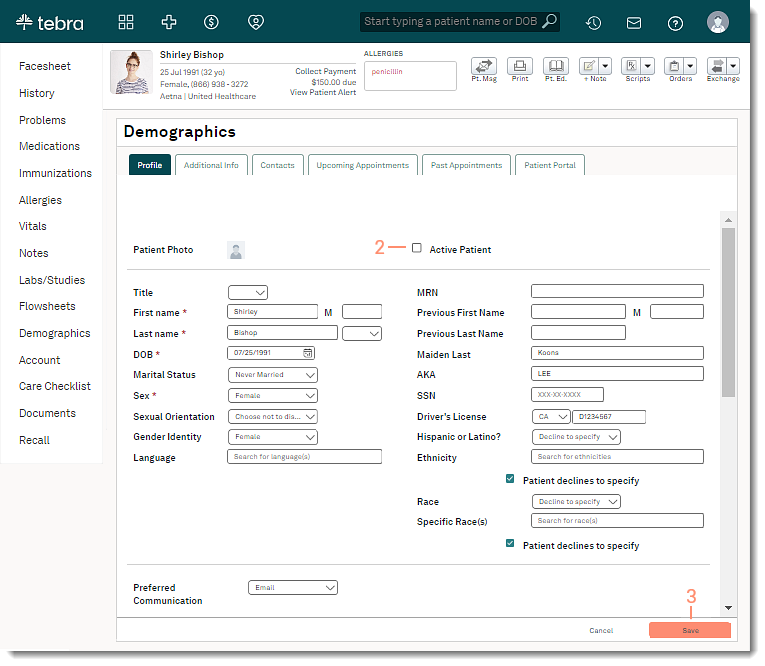
Deactivate Patient ChartFollow these steps to deactivate a patient's chart. Once the patient is deactivated, they will no longer display as a result in the search bar. The patient's chart will display (Inactive) next to the patient's name to indicate the chart is deactivated.
|
 |
Reactivate Patient ChartFollow these steps to activate an inactive patient's chart.
|
 |