Updated: 06/23/2023 | Views: 1928
Easily associate patients with their patient record by uploading a photo. With this feature you can:
- Drag and drop an image or upload an image from your device
- Add an image up to 5MB in size and in the format of GIF, JPG or PNG
- Crop the image in the web application if the image is larger than 640 x 640 pixels
Once a photo is added, it cannot be set back to the default avatar. If you no longer want a patient photo, replace it with a blank image.
Access Patient Facesheet
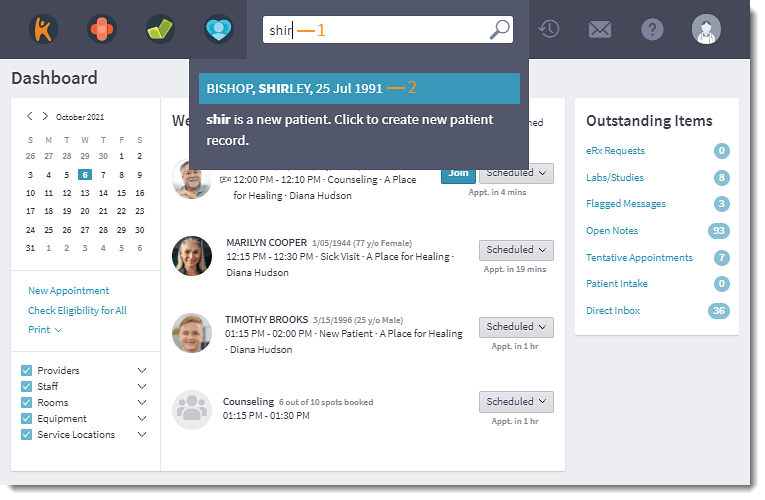
- Enter the first 2–3 letters of the patient's name or date of birth (mm/dd/yyyy) in the top navigation bar search box.
- Click to select the patient from the auto-populated results. The patient's Facesheet page opens.
|
 |
Add Patient Photo
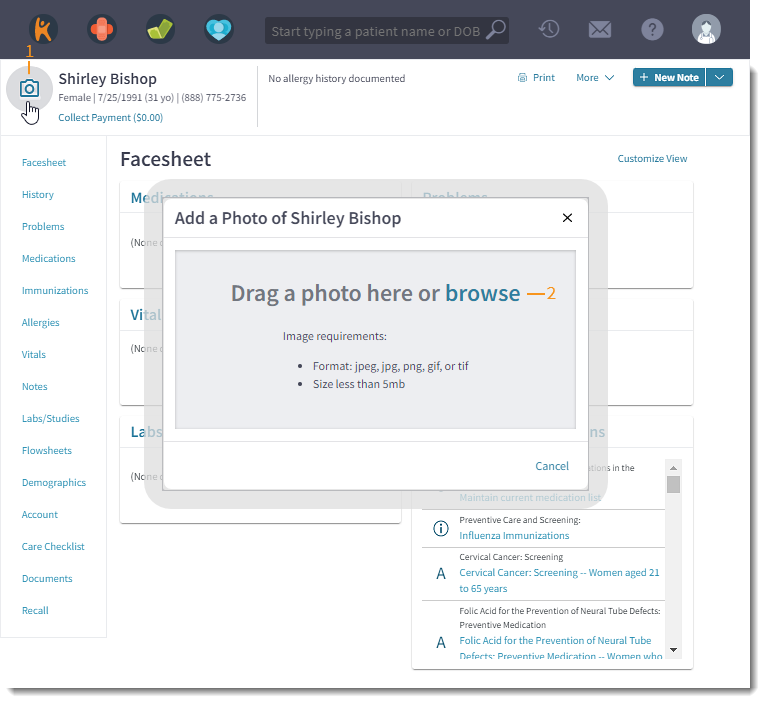
- Hover over the default avatar and click the camera icon. The Add a Photo of Patient pop-up window opens.
- Drag and drop an image or click browse to upload an image.
|
 |
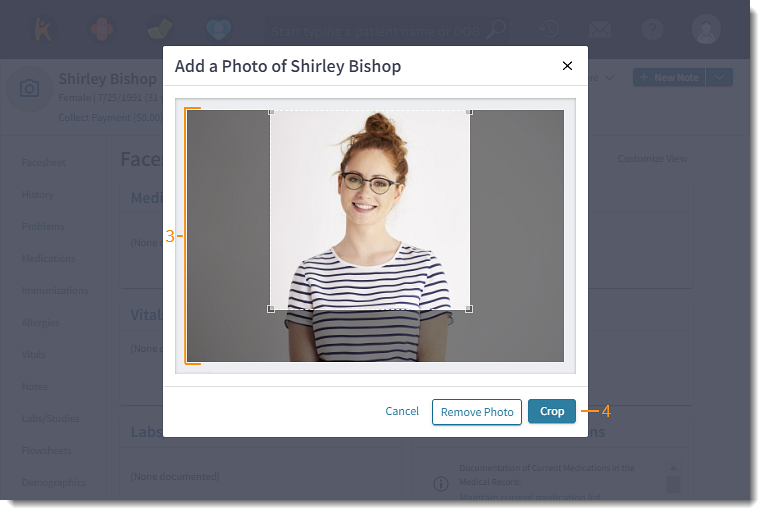
- Adjust Photo: If applicable, adjust the position or change the aspect ratio of the image.
- Reposition image: Click, hold, and drag the image.
- Crop image: Click and drag the corners of the crop box adjust the size.
- Click Crop when finished.
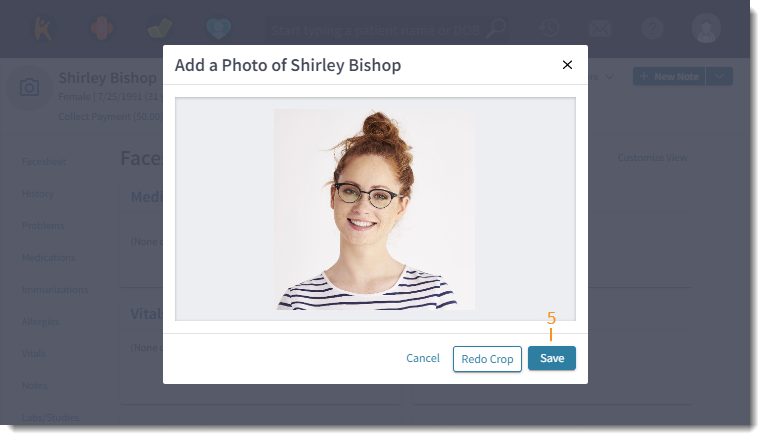
- Review the image and click Save to add the patient photo. The photo displays in the patient's chart.
- To edit the placement or crop of the image, click Redo Crop.
|
 |
- Review the image and click Save to add the patient photo. The photo displays in the patient's chart.
- To edit the placement or crop of the image, click Redo Crop.
|
 |
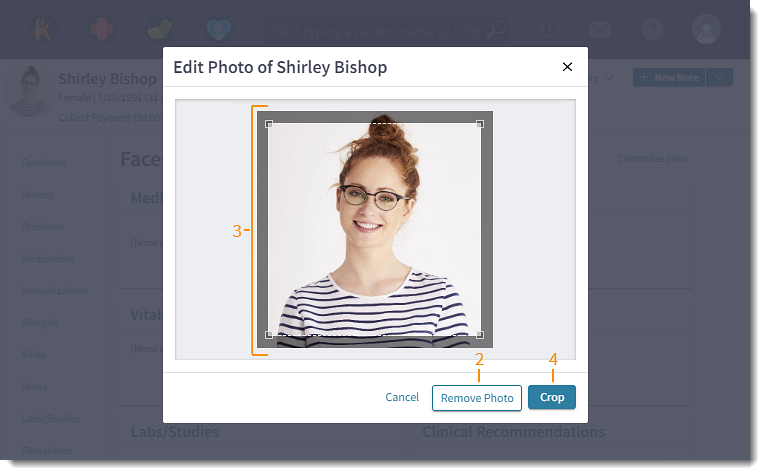
Change or Edit Patient Photo
- Hover over the patient's photo and click the camera icon. The Edit Photo of Patient pop-up window opens.
- To change the patient photo and upload a new photo, click Remove Photo. Then, drag and drop an image or click browse to upload an image.
- Adjust the position or change the aspect ratio of the image.
- Reposition image: Click, hold, and drag the image.
- Crop image: Click and drag the corners of the crop box adjust the size.
- Click Crop when finished.
- Review the image and click Save to add the patient photo. The photo displays in the patient's chart.
- To continue to edit the photo, click Redo Crop.
|
 |