Deactivate or Reactivate Allergy
Mark the patient's allergy as inactive to indicate the allergy is resolved or no longer applicable. If necessary, the deactivated allergy can be reactivated at a later time.
If the allergy was incorrectly added, mark the allergy as an error.
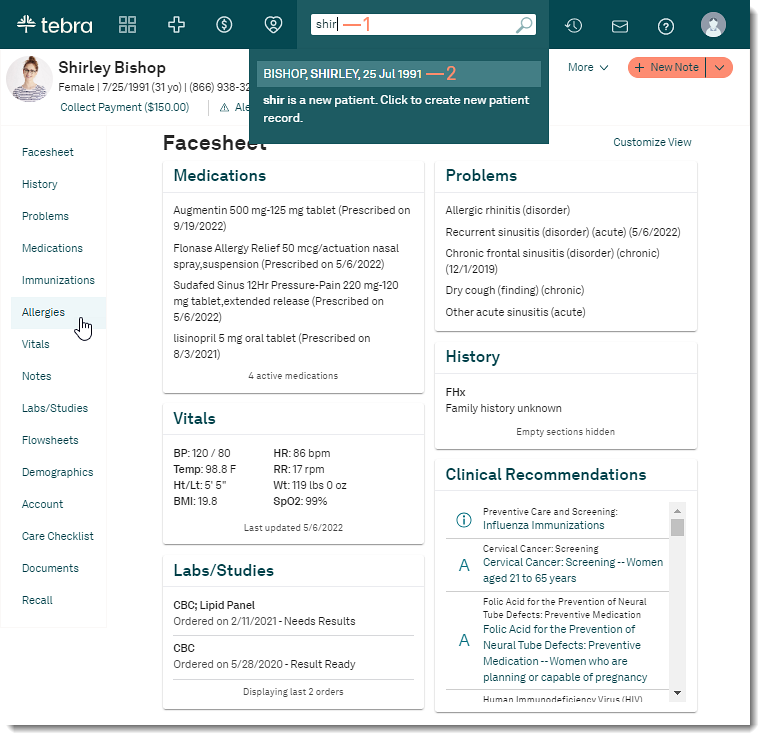
Access Patient Allergies
|
 |
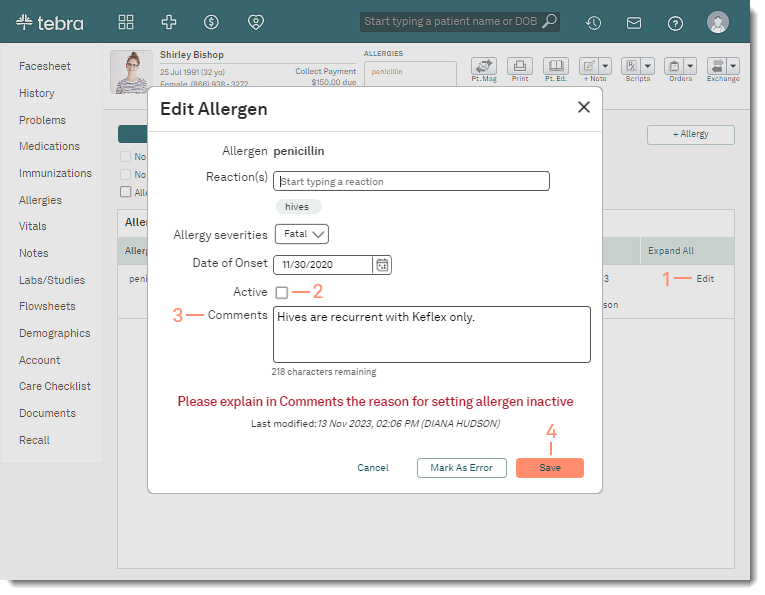
Deactivate Allergy
|
 |
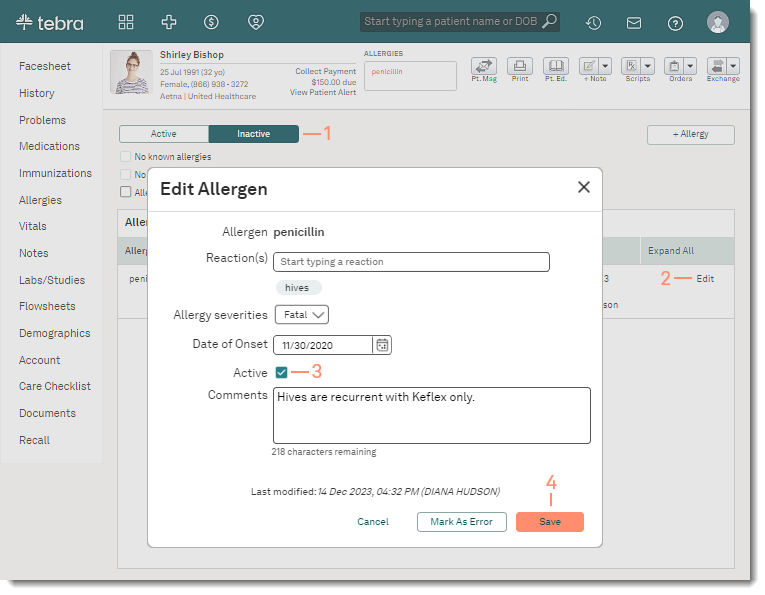
Reactivate AllergyIf necessary, reactivate an allergy to indicate the allergy is active.
|
 |