Updated: 03/26/2024 | Views: 1581
All charges created from a clinical note are available for review on the Charges Dashboard. From there you can view all charges in progress as well as those that have been submitted to the Desktop Application.
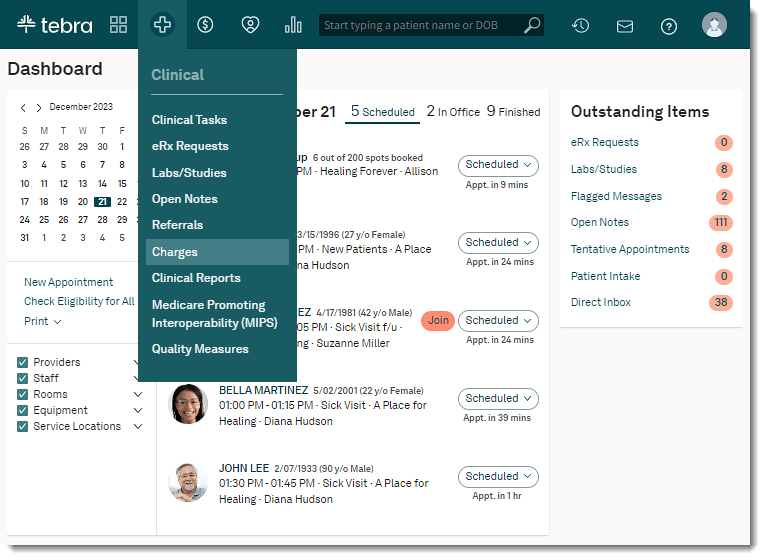
Access Charges Dashboard
- Hover over the Clinical icon and click on Charges. The Charges page opens.
|
 |
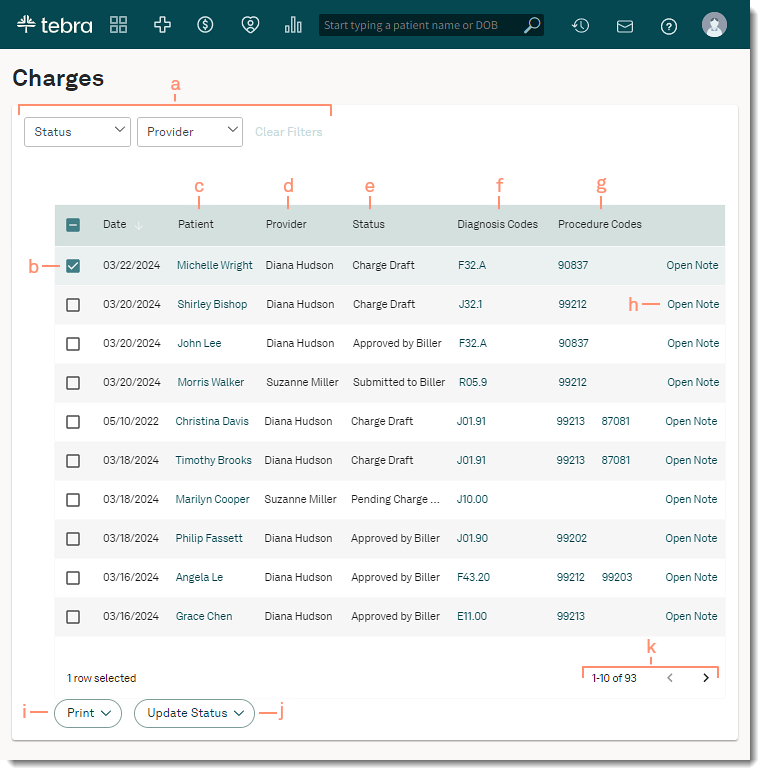
Navigate Charges Dashboard
- Filter: By default, all charges for all active providers display.
- To change the filter, click the Status or Provider drop-down.
- Status Filters: All, Approved by Biller, Charge Draft, Failed, Pending Charge Approval, Pending Charge Rework, and Submitted to Biller
- Provider Filters: All and active providers
- To reset the filters back to all charges for all active providers, click Clear Filters.
- Charge: Click to select individual charge(s) or click the checkbox in the header to select all charges on the page.
- Patient: Click to view the patient's facesheet. Click the column header to sort by ascending or descending.
- Provider: Displays the rendering provider of the charge.
- Status: Displays the status the charge.
- Charge Draft: The charge was just created or is currently be worked on.
- Pending Charge Approval: The charge is ready to be reviewed for approval (to be submitted to billing) and can be edited as necessary.
- Pending Charge Rework: The charge needs to be updated or requires corrective actions.
- Submit to Billing: The charge has been completed and confirmed for submission to the Desktop Application (PM) for billing. Once saved, the charge is submitted to the biller and can no longer be edited.
- Approved by Biller: The encounter has been approved in the Desktop Application and the claim is ready to send to the payer or patient.
- Diagnosis Code: Displays the diagnosis code(s) populated in the charge. Click to view additional quantity and codes details related to the charge.
- Procedure Codes: Displays the procedure code(s) populated in the charge. Click to view additional quantity and codes details related to the charge.
- Open Note: Click to view the clinical note associated with the charge.
- Print: Click to generate a PDF of the selected charge(s).
- Status: Click to select the new status of the selected charge(s). A green confirmation message displays when the status is changed.
Note: Available options depend on the user's role(s).
- Pagination: By default, each page displays up to 10 charges. To navigate forward or back, click the arrows.
|
 |