Add-In for Microsoft Excel
The Desktop Application (PM) offers a self-service Microsoft Excel Add-in for System Administrators to create customized reports. The Add-in allows you to use Microsoft Excel to analyze your data and build custom reports. Proficiency in Microsoft Excel's use of filters, formulas, pivot tables and graphs is required to use this add-in. To get started, download and activate the Add-in then configure the security settings.
System Requirements:
- Windows 8, 8.1, 10, or 11 (not supported by Mac)
- Microsoft Excel 2007, 2010, 2013, or 2016
Note: If you are using a previous version of Microsoft Excel, you must upgrade to Microsoft Excel 2007, 2010, 2013, or 2016 before you can use the Add-in.
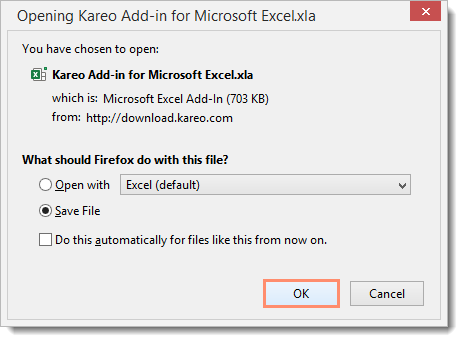
Download the Add-In
|
 |
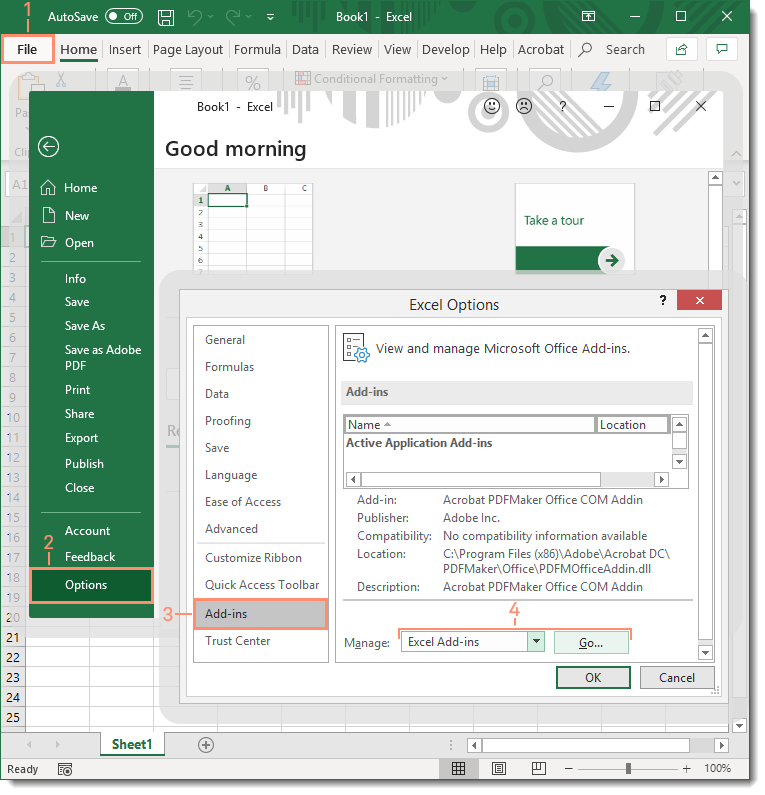
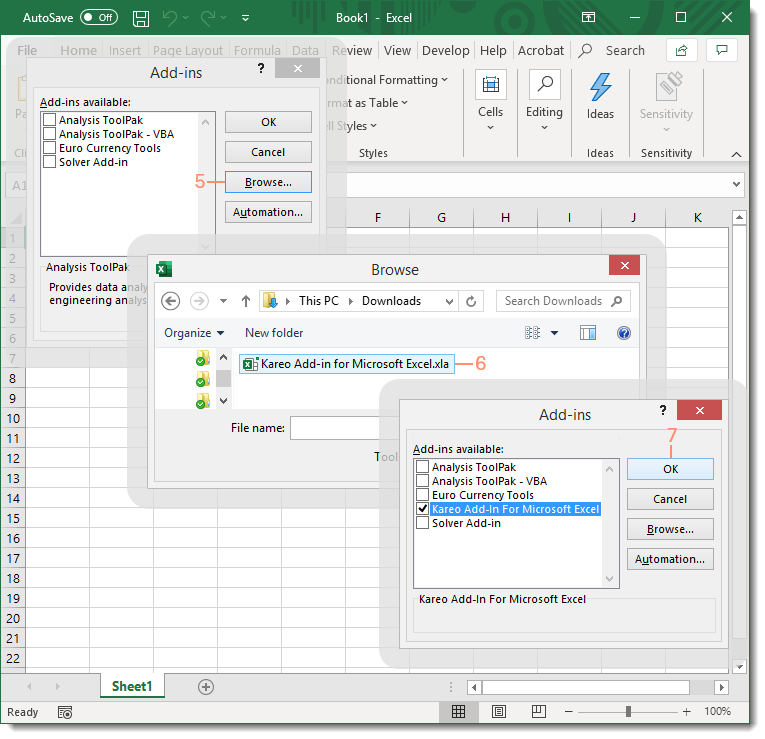
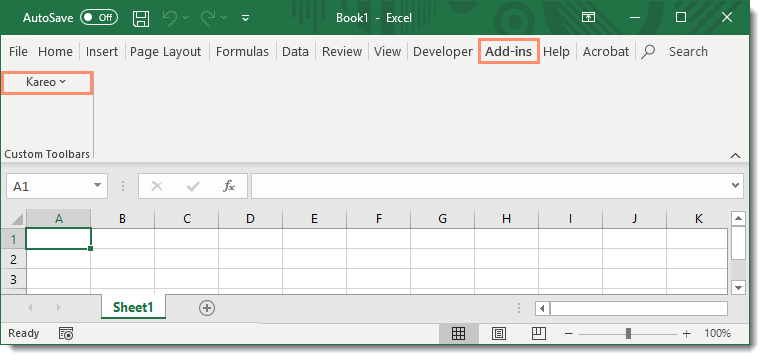
Activate Add-InFollow the below steps to activate the Add-in after it has been downloaded and saved.
|
 |
|
 |
|
 |
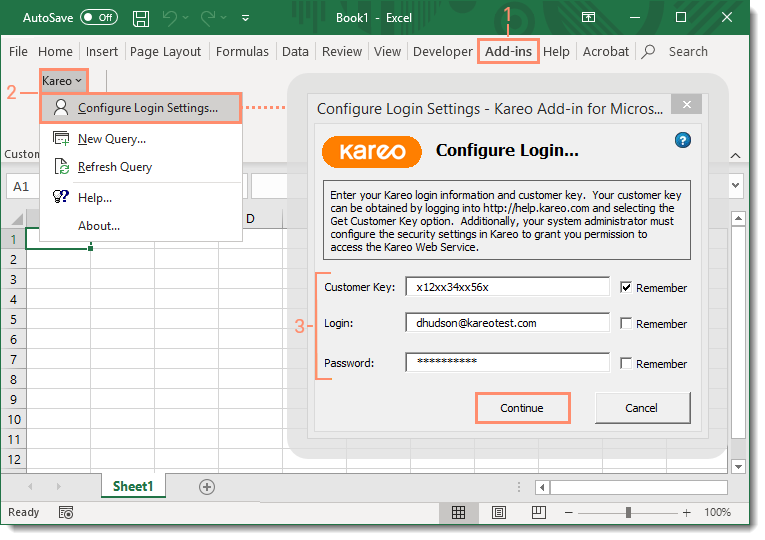
Configure Login SettingsBefore using the Add-in for the first time, the settings must be configured in Excel. Part of this process includes entering an account-specific customer key as an added measure for securing your data when accessed outside of the Desktop Application (PM). Get Customer Key before following the below steps.
Learn how to use the Add-in to build and run custom reports in our Building Custom Reports - Microsoft Excel Add-in Guide. |
 |