Updated: 09/21/2023 | Views: 33231
The Patient Statement Options allow you to set default patient statement information for the practice. Once these settings are configured, you can prepare and Send Patient Statements.
Patient Statement Options
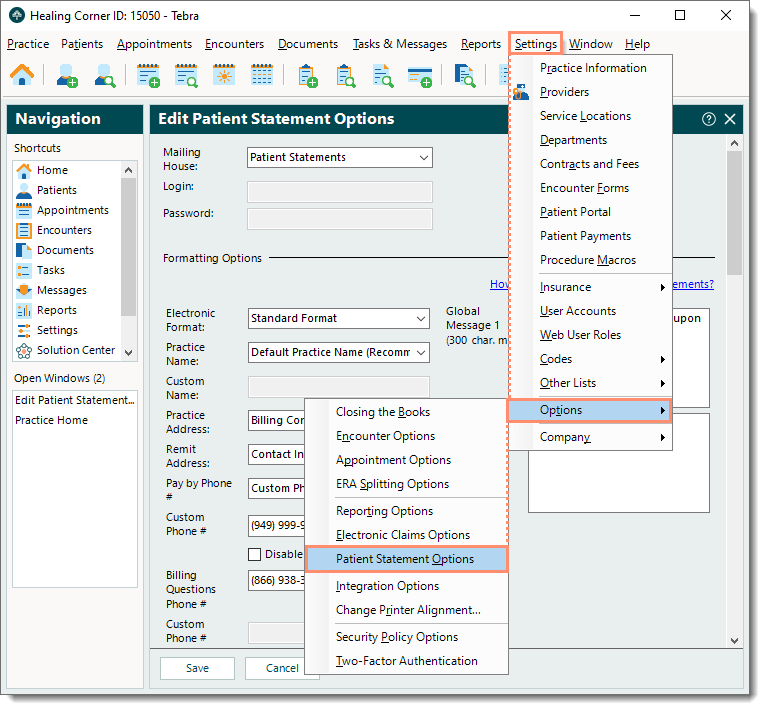
- Click Settings > Options > Patient Statement Options. The Edit Patient Statement Options window opens.
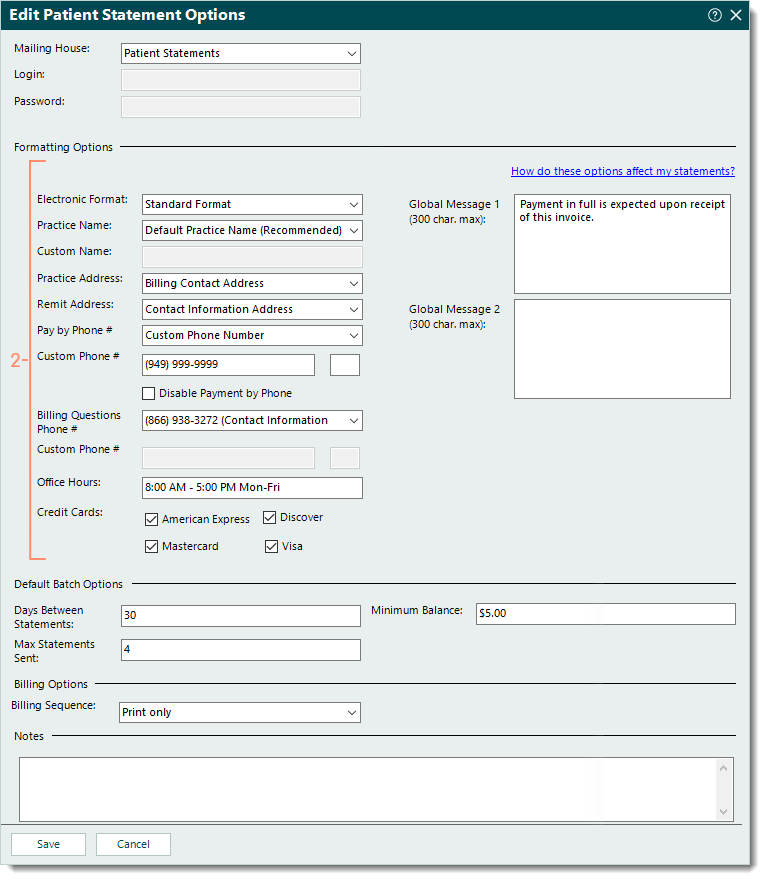
Note: The Mailing House defaults to Patient Statements. If necessary, click the drop-down arrow and select Patient Statements.
|
 |
- Formatting Options section: Enter information that should appear on the patient statements.
Note: The options available for selection such as Contact Information, Administrator, and Billing Contact pulls from the Practice Information. Verify the information (e.g., addresses, phone numbers) is accurate and select accordingly.
- Electronic Format: Defaults to Standard Format.
- Practice Name: Click the drop-down arrow to select the practice.
- If Custom Practice Name is selected, enter the Custom Name.
Note: Text balance reminders and paper statements pull the custom name. Email balance reminders pull the name from the Practice Information and not the custom name.
- Practice and Remit Address: Click the drop-down arrow to select the address.
Note: This is especially important if the remit-to address is a P.O. Box.
- Pay by Phone #: Click the drop-down arrow to select the phone number.
- If Custom Phone Number is selected, enter the Custom Phone #.
- To remove Pay by Phone # from patient statements, click to select "Disable Payment by Phone".
- Billing Questions Phone #: Click the drop-down arrow to select the phone number.
- If Custom Phone Number is selected, enter the Custom Phone #.
- Office Hours: Enter the hours of operation (e.g., 8:00 AM - 5:00 PM Mon - Fri).
- Credit Cards: Click to select the cards the practice accepts for payment.
- If necessary, enter global messages (not to exceed 300 characters each). It is recommended to avoid text in all caps as this may cause overlapping characters.
- Global Message 1: Enter a message.
Note: For patients in a collection category that includes a dunning message, this global message is replaced with the dunning message.
- Global Message 2: Enter a secondary message.
Note: For patients with an added statement note in the patient account, this global message is replaced with the note.
|
|
- Default Batch Options section: Enter information to auto-populate the criteria to filter patients when sending patient statements.
- Days Between Statements: The number of days between statements (typically 30 days).
- Max Statements Sent: The maximum number of statements sent to patients who have not made a payment. If there is no maximum, enter the number 99.
- Minimum Balance: The minimum balance that must be met in order to generate a patient statement, formatted as "$0.00."
- Billing Options section: Select the Statement Delivery method(s) that auto-populates when sending patient statements.
- Billing Sequence: Click the drop-down arrow to select Print only, Email and print concurrently, or Email only.
Note: Email options are only available for Tebra Payments and Patient Collect (Stripe) activated practices.
- Notes: Enter any internal notes related to the options.
- Click Save when finished.
Once these settings are configured, patient statements can be prepared and sent.
|
 |